If you are a traditional paper scrapper, you know that finding a good variety of Disney themed “physical” scrapbooking supplies can be very difficult. You might see all these cool “digital” files, but be frustrated because you don’t think you can use them. Did you know that you can print out my digital products and use them to create paper layouts and pocket pages? Yes you can!!
All Kellybell Designs embellishment are in PNG file format which can easily be imported into your Cricut Design Space or Silhouette Studio software. You then instruct your software how to trace and cut. Now you can use the printed elements, journal cards and papers for making a traditional, paper layout, or slide them into a vinyl, pocket sleeve. Both are beautiful alternatives to digital scrapbooking.
What if you don’t have a cutting machine? Or any digital design software? You can use Microsoft Word or Powerpoint to import PNG images and resize/arrange them on a page for printing. Starting on Jan1, I’ve included printable PDF files with the Pocket, Snippet, Journal Cards and Word Flair products which don’t require any special software at all to print. You can cut out any printed embellishments with scissors and paper trimmers.
Let’s take a look at some paper layouts and pocket pages! Perhaps these can inspire you to create paper pages of your own.

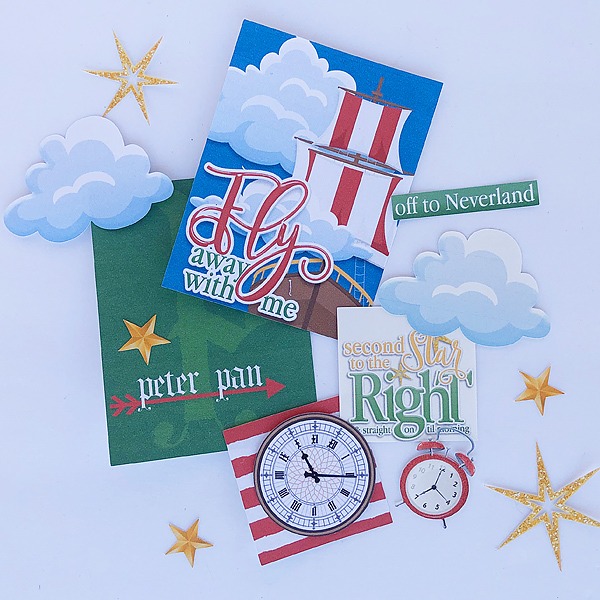
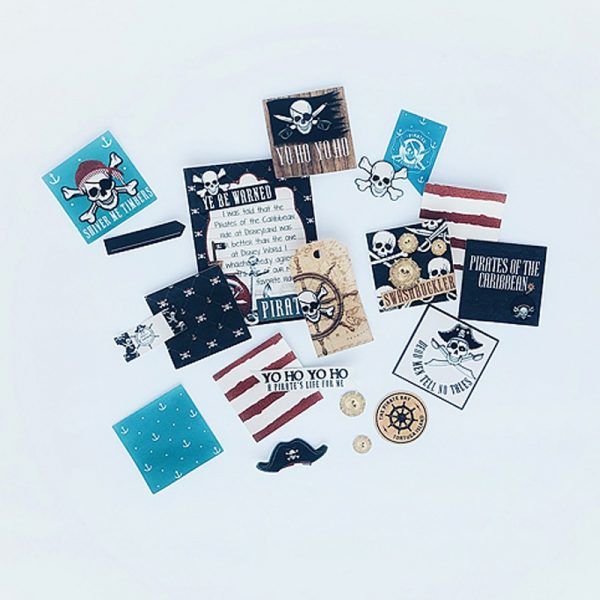
CT member Cassie has been busy creating her Disney album using 6×8 vinyl pocket pages. She has a Canon MG2920 printer, and a Cricut Maker for cutting. She uses a lot of the journal cards, pockets and snippets, but also mixes in a few elements from the kit.
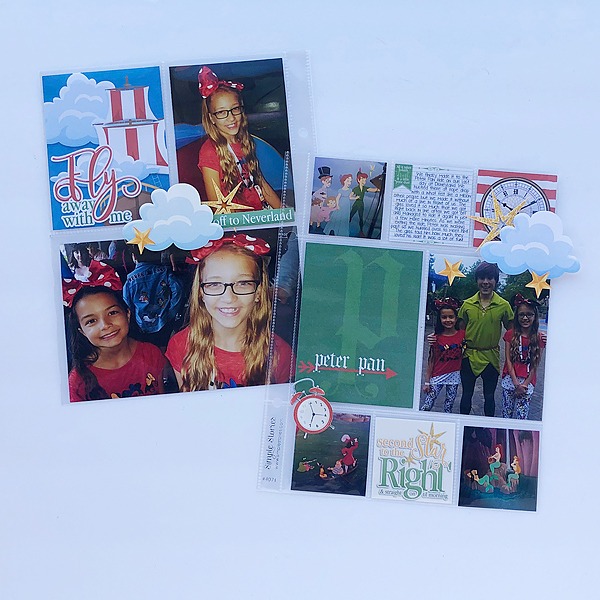
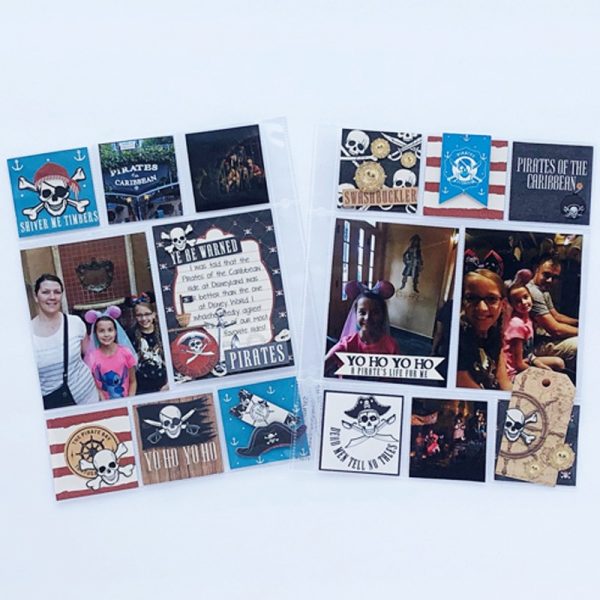
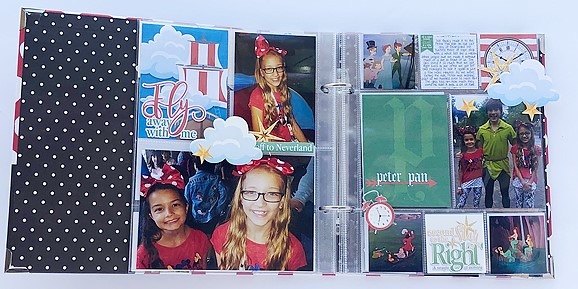
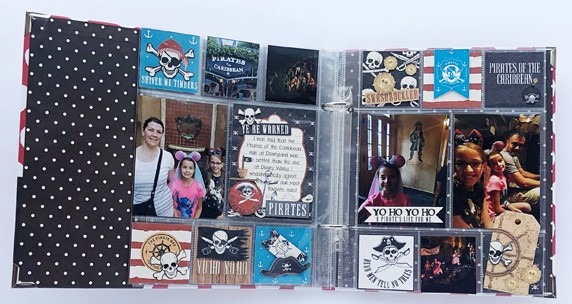
Below are some of the printed and cut embellishments. She used the Finding Neverland and Caribbean Pirates collections. It’s so helpful to see all these elements printed out!

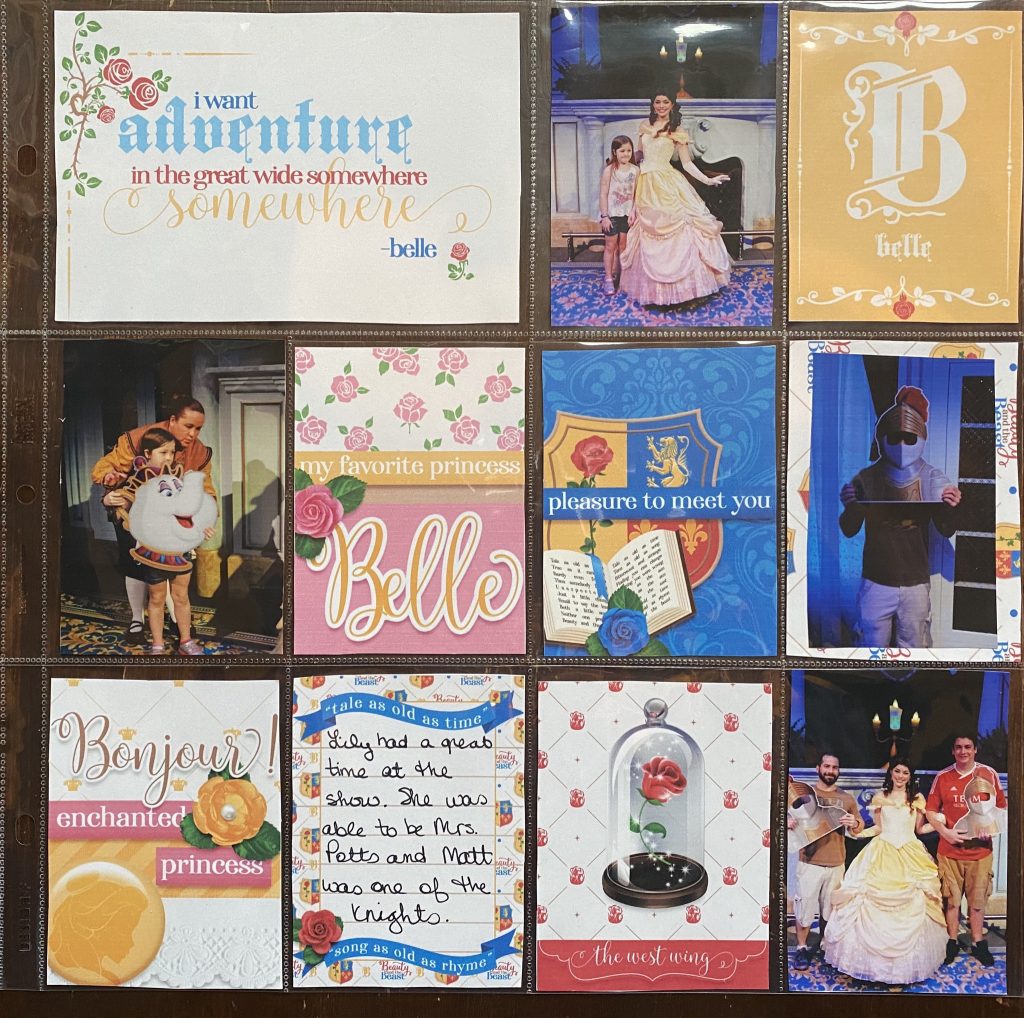
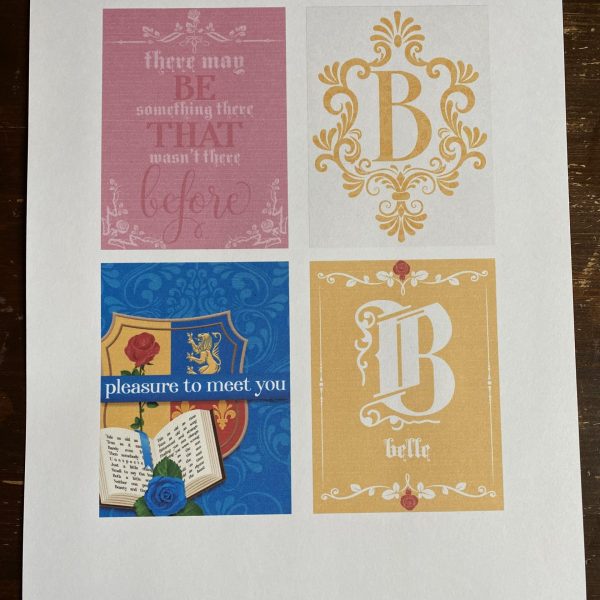
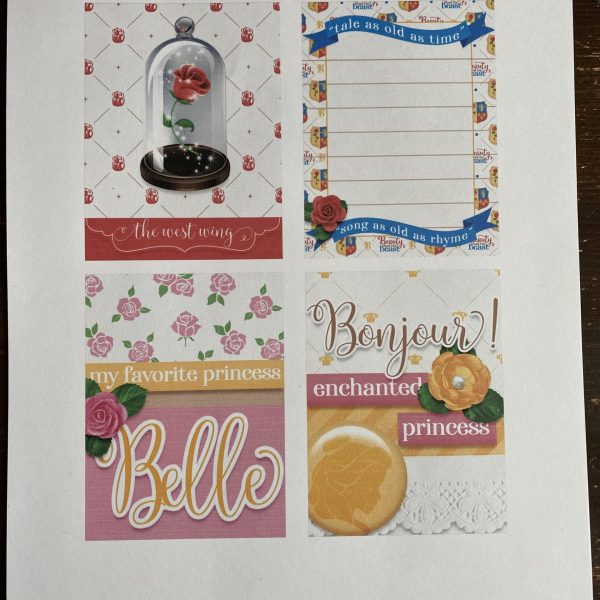
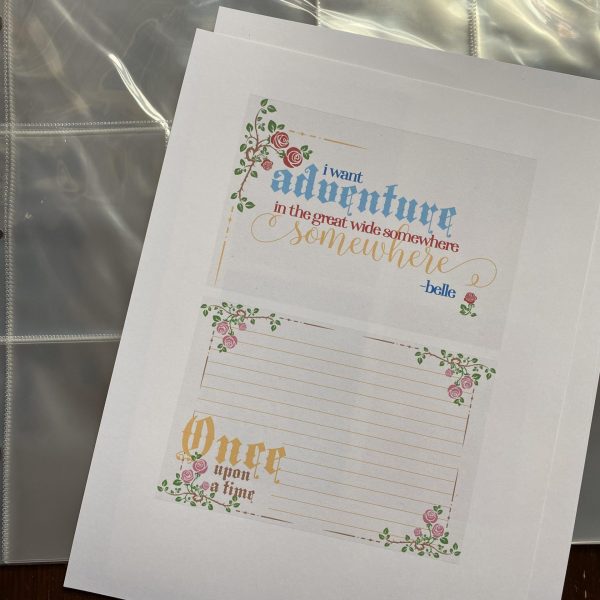
CT Member Jennifer also makes pocket pages. She used the Enchanted Princess collection and created a 12×12 vinyl sleeve pocket page. I love seeing all the journal cards printed out! They really look fabulous mixed in with her photos. Isn’t this the sweetest page?
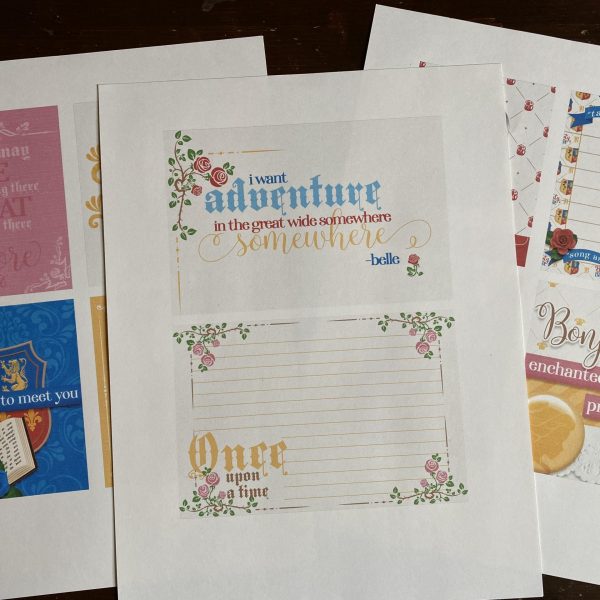
Jennifer does not use a cutting machine. She printed out these journal cards from the 8.5×11 printable PDF files. She printed 3 sheets of journal cards and then cut them out by hand with scissors and a paper trimmer. Then you just pop them into the pocket sleeves. How easy is that!

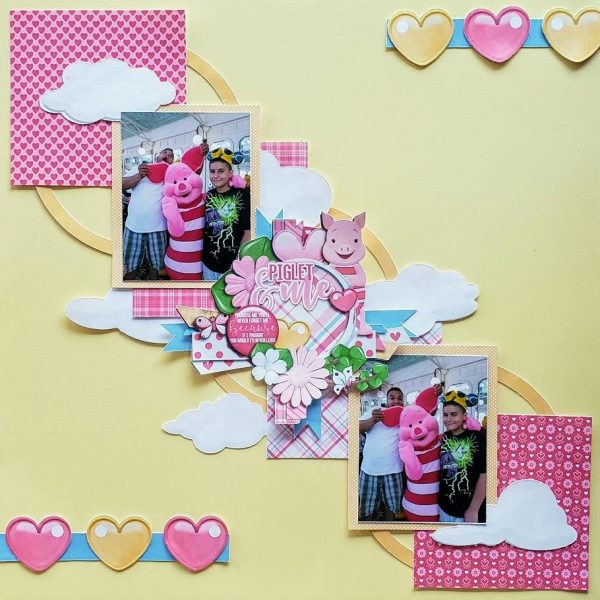
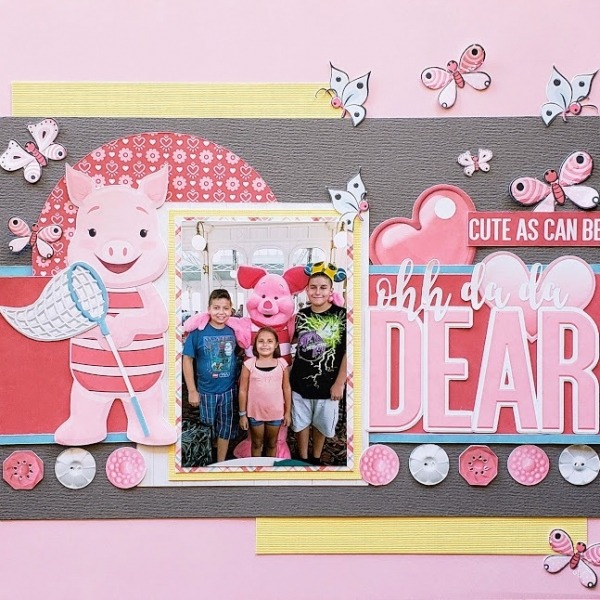
CT member Esther is our paper scrapbooking artist. She creates fabulous traditional paper layouts using her printer and Cricut. It’s amazing to see all these elements printed out and assembled. They really come to life! Esther used the Timid Little Piglet collection. I love all the clouds tucked under the diagonal photos. And look how sweet all those butterflies are on the second layout. Esther has a Cricut tutorial HERE showing how she creates her paper layouts.
These pages have just been printed, and are ready to feed through the Cricut Maker for cutting. The outer black rectangle boxes are the registration marks needed by the Cricut Maker for cutting.
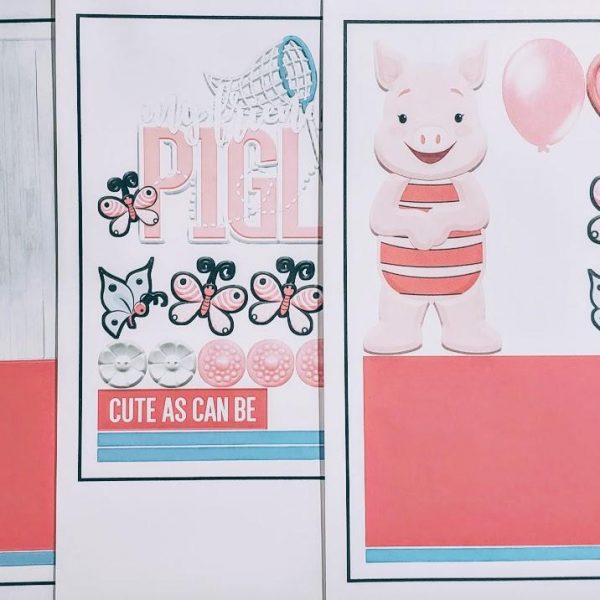
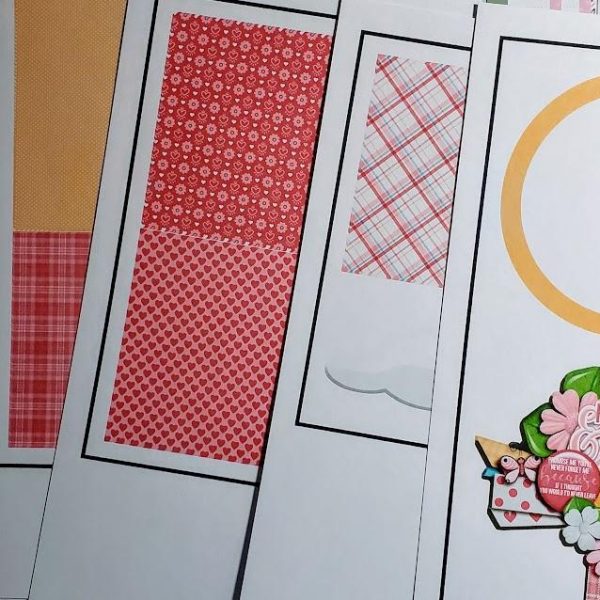

Wow! It’s so amazing to see these designs in printed form. They really do come to life! And it’s a lot easier than you think to use digital designs for paper projects.
Wondering how you get started with hybrid scrapbooking? You need 4 things:
-
A method to organize and resize your embellishments prior to printing. You can use a scrapbooking software like Photoshop Elements, or the design software included with your Cricut or Silhouette cutting machine (Cricut Design Space or Silhouette Studio), or something like Microsoft Word or Powerpoint. You can also print out the 8.5×11 printable PDF files included with the journal cards, snippets, pocket and word flair packs.
-
A printer. There are lots of choices for printers. Most popular brands are HP, Epson and Canon.
-
Cardstock paper. It’s better to use a heavier weight paper than plain printer paper.
-
A cutting tool. You can use a cutting machine from Cricut, Silhouette or Brother. You can also cut items out with scissors or a paper trimmer.


Leave a Reply
Your email is safe with us.
You must be logged in to post a comment.