If you’re a traditional paper scrapper, you can use digital files to print and cut your own paper elements. Digital files offers paper scrappers more flexibility and allows you to broaden your choices when making a paper layout.
CT Member Esther is our traditional paper layout artist and she is constantly creating the most gorgeous paper pages. Let’s take a look at some of her paper layouts and the process she uses to transform digital files into paper embellishments. All of Esther’s layouts are 12×12 and all of them are paper!
Making digital files into paper elements requires 4 items: design software, white cardstock paper, a printer, and a cutting machine. Popular cutting machines include Cricut, Silhouette and Brother. Design software includes Cricut Design Space, Silhouette Studio or Adobe Illustrator.
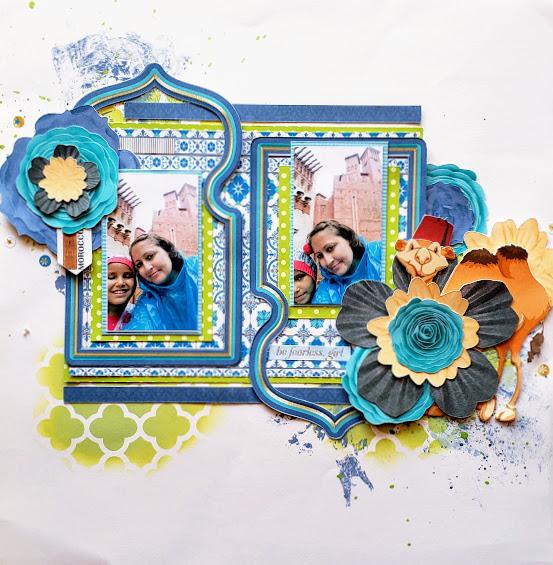
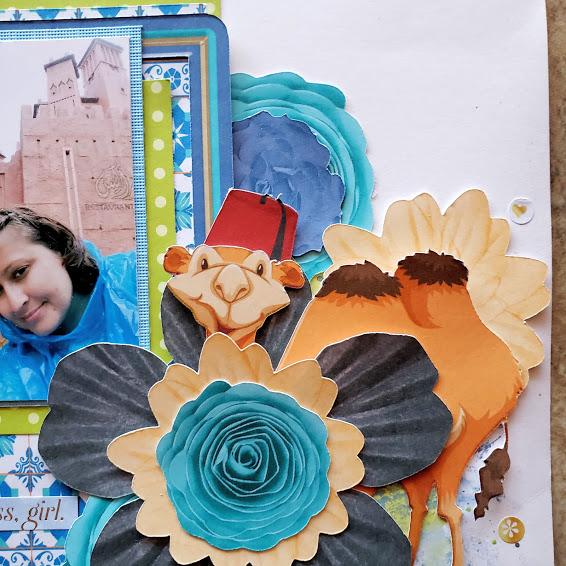
To make this paper layout, Esther used several flowers, a frame, fez hat, mickey ears, and papers from the Passport To Morocco Kit. All Kellybell Designs elements are in PNG format and all papers are in JPG format. Using Cricut Design Space, Esther uploads the PNG element files with the Print & Cut option. She resizes them and then arranges them across separate 8.5×11 pages. The Cricut print and cut option has some printing page limitations (6.75″ x 9.25″), so you may need to print out a few pages. The printed pages are shown below. Cricut puts a black rectangle around the print area so it knows where to cut.
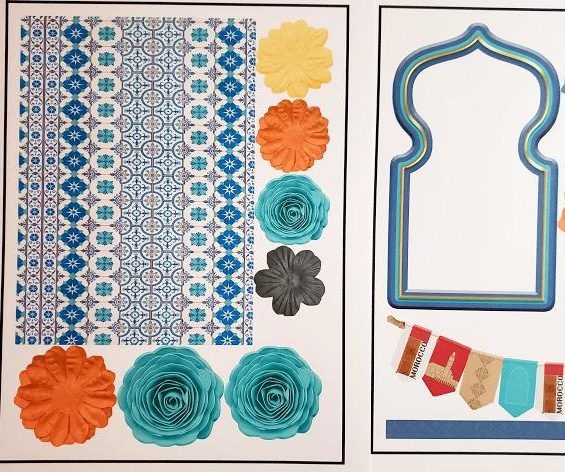
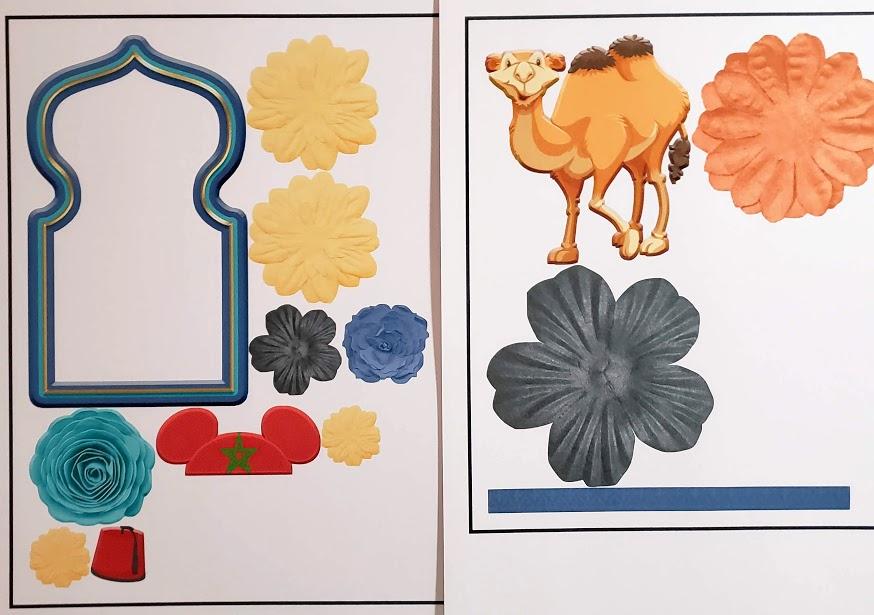
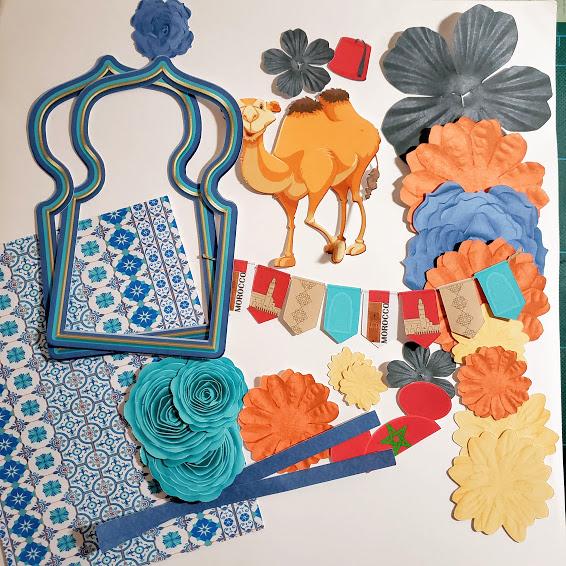
Esther uses 2 different printers: Canon TS6020 & Canon iP8720. She uses the Canon TS6000 for printing digital elements on cardstock and for printing photos. She uses the larger Canon iP8720 for 12×12 paper. After printing, you feed your pages into the Cricut cutting machine on the cutting mat. Esther has a detailed step by step Cricut tutorial on how she made this page on her blog HERE. Check out the printed and cut elements.
Here’s some closeup views of her finished layout. Check out the amazing layering of the flowers under and over the papers and frames.
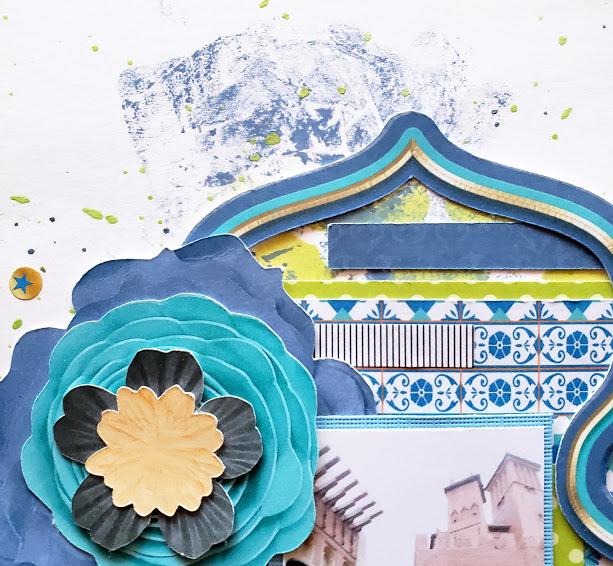

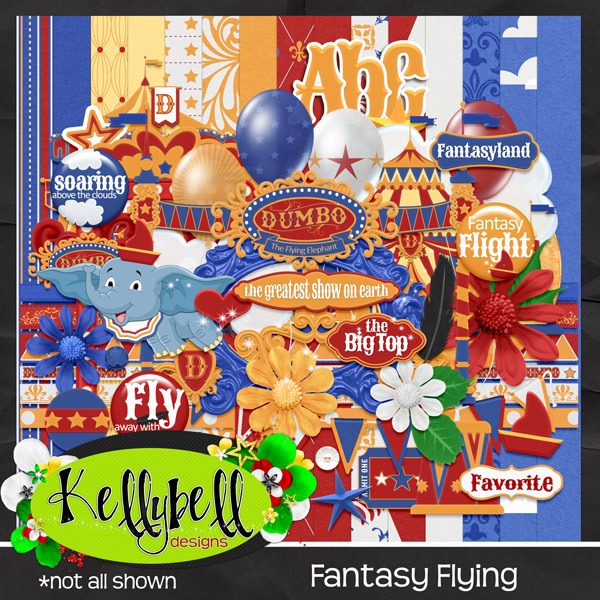
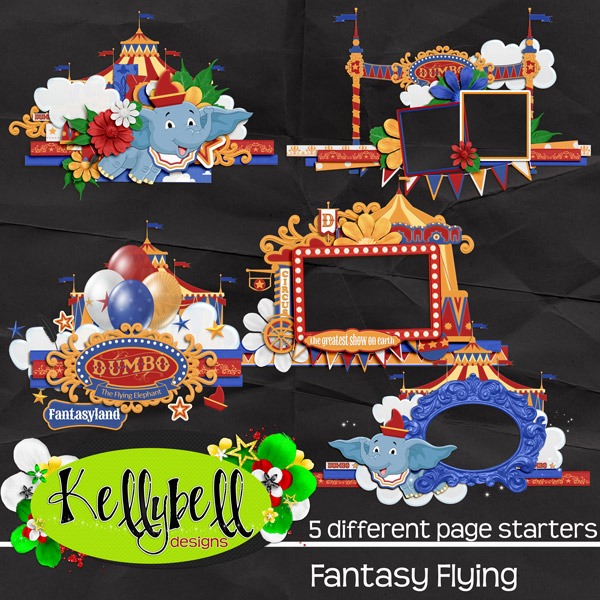
Esther made these 2 paper layouts using the Fantasy Flying Kit and the Fantasy Flying Page Starters. For added decoration, Esther also uses a variety of stamps and stencils.
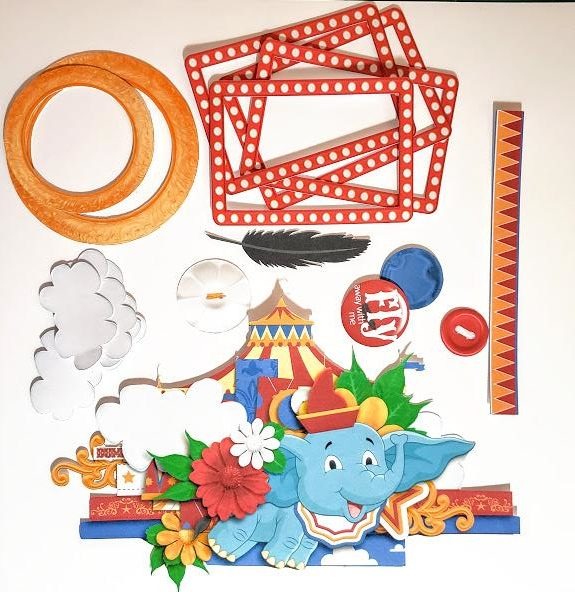
Here are the 2 products used to make these layouts. Notice how Esther used a page starter as one of the elements on her layout. Page Starters are great because they are preclustered for you and they’re fabulous to use for paper layouts.

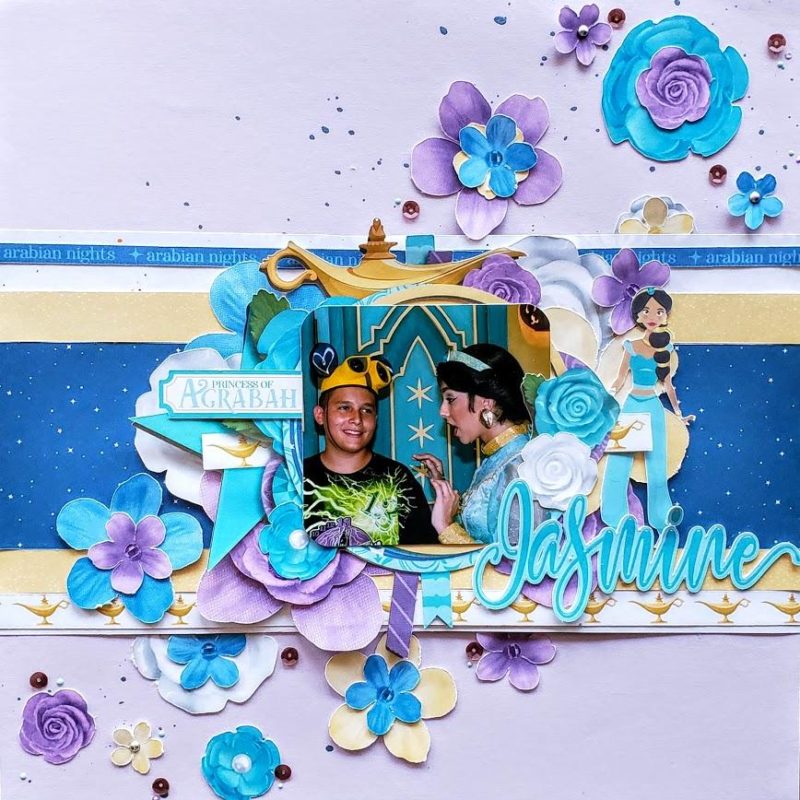
Isn’t that Jasmine page gorgeous? Esther created this page using the Arabian Princess collection. From the kit, she used several flowers, a Jasmine doll, papers, and ribbons. The title came from the Word Flairs pack. And the clustered circle frame is a page starter.
After importing all the digital files into Cricut Design Space, resizing them and arranging them across several pages, they are now ready to be cut. With the print and cut method in Cricut, you are setting up an “outline” around each element so Cricut knows if you want just the element cut or if you want a white border around each element – like a sticker. Below are cut elements.
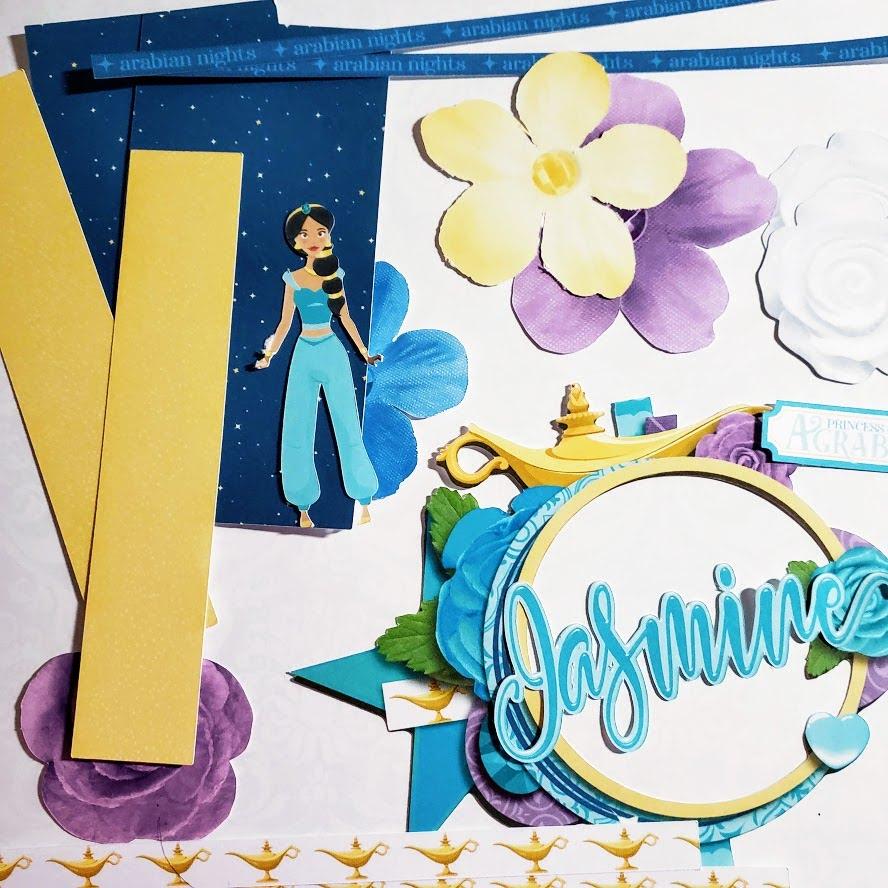
Here are the 3 products used to make this layout: Arabian Princess Kit, Arabian Princess Page Starters and Arabian Princess Word Flairs.

Here’s a few more examples of her paper layouts and the printed and cut elements.
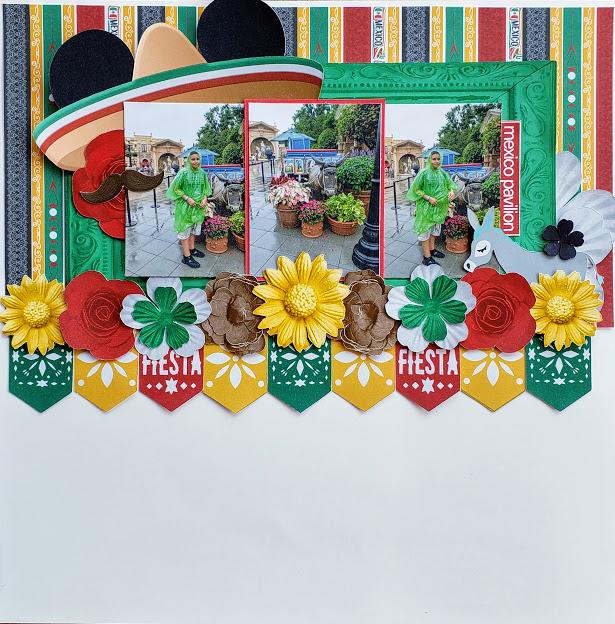
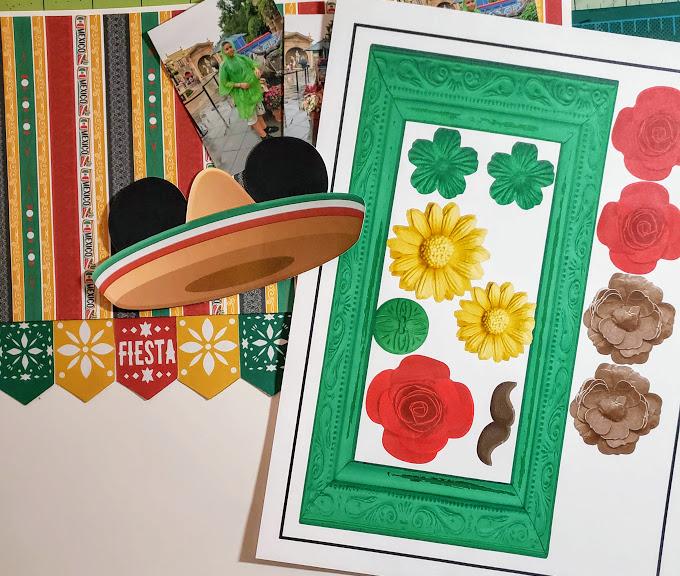
Made with the Passport To Mexico collection.
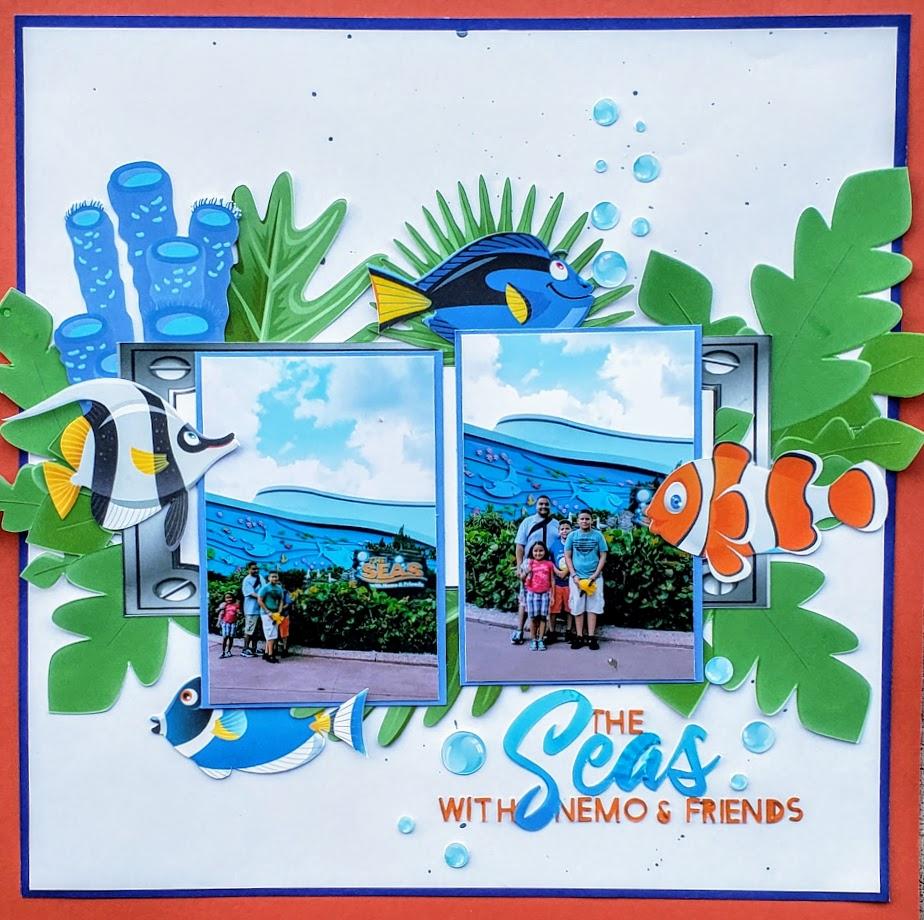
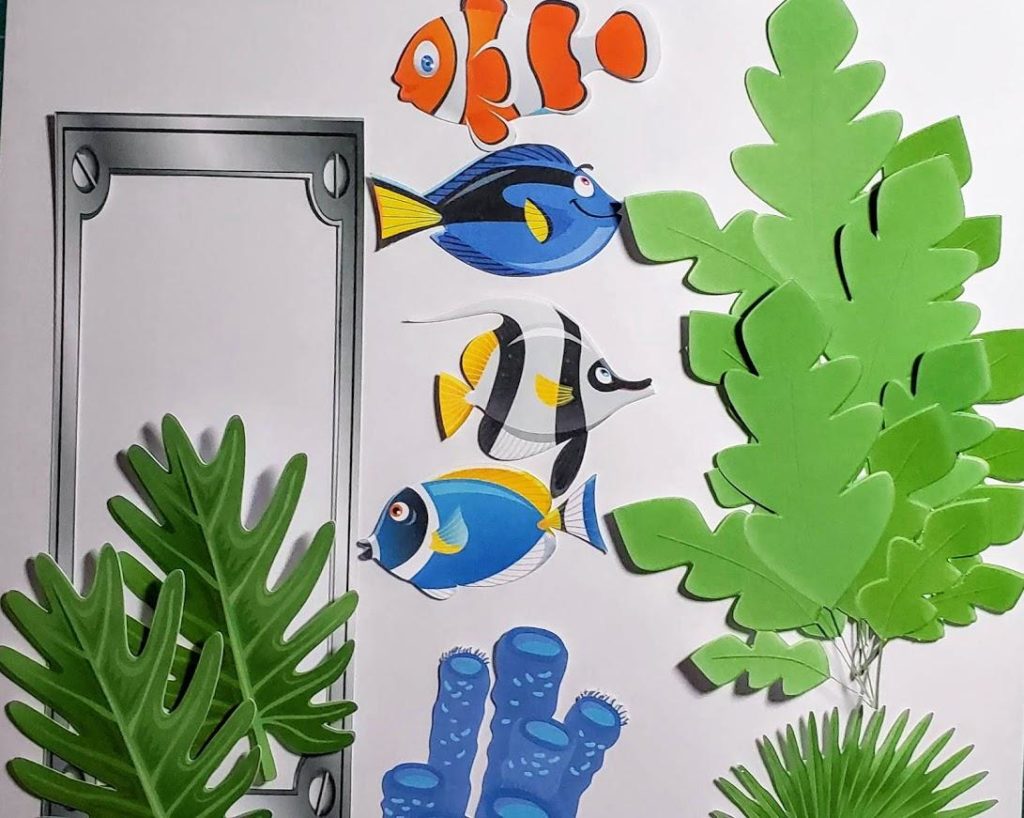
Made with the Big Blue World collection.
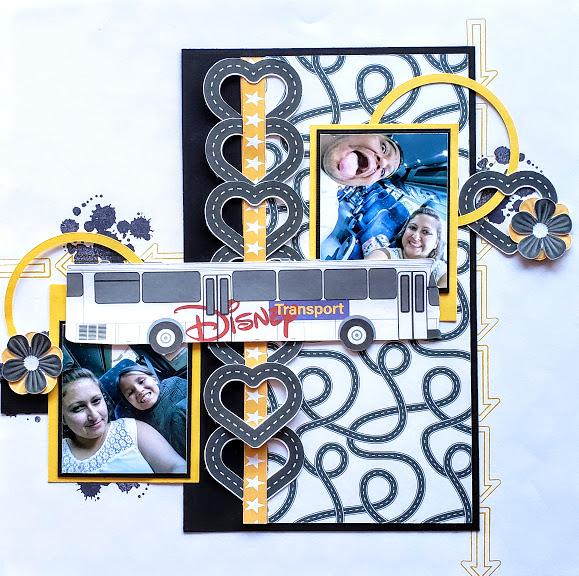
Made with the Getting There collection.
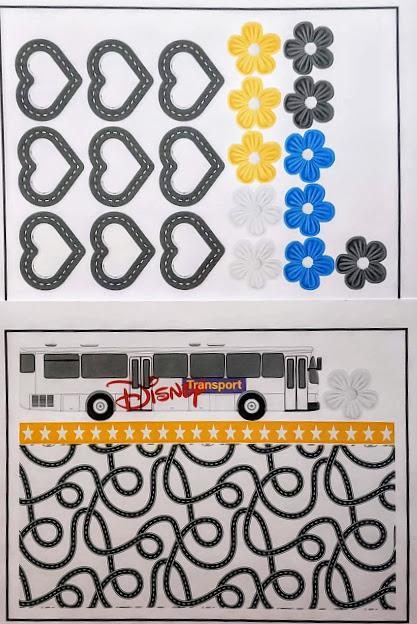

Check out a few more of Esther’s paper layouts. Her layering of flowers and elements into clusters is amazing!



Leave a Reply
Your email is safe with us.
You must be logged in to post a comment.