Quick Pages are a versatile scrapping product allowing you to create a layout very quickly and easily. Inside the Shop are tons of Quick Pages created with each collection. Quick Pages have a “transparent hole” for adding in your own photos. They are created at 300dpi for quality printing and sized as a 12×12 PNG file.
There have been several questions about how to use Quick Pages within the Forever Artisan software. CT Member Charlene has created a tutorial showing how she opens the file and inserts photos into the open spots. The End Of The Year CT Blog Train offered several calendar Quick Pages. Here’s how Charlene works with her Quick Page.
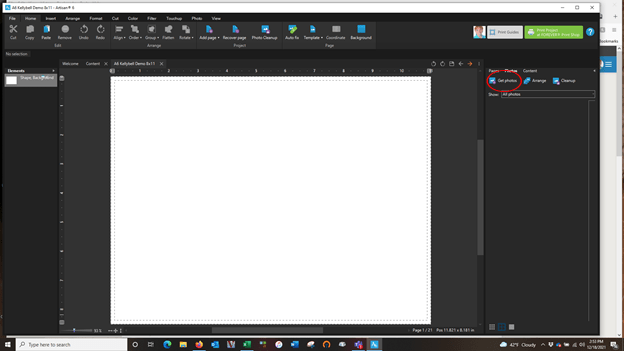
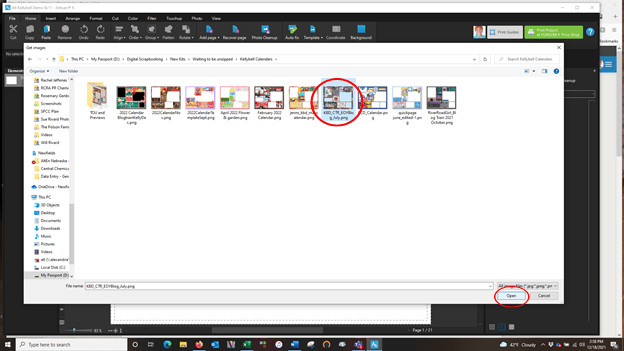
1. To add a Quick Page as a photo, click on Get photos and navigate to where your Quick Page is stored on your computer or external hard drive.
2. Select the Quick Page and then click on Open. Your Quick Page now comes into your project as a photo.
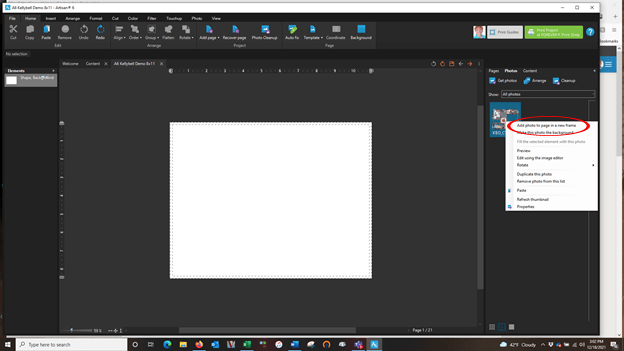
3. Right click on the Quick Page and click on Add photo to page in a new frame. This will add the Quick Page onto your layout.
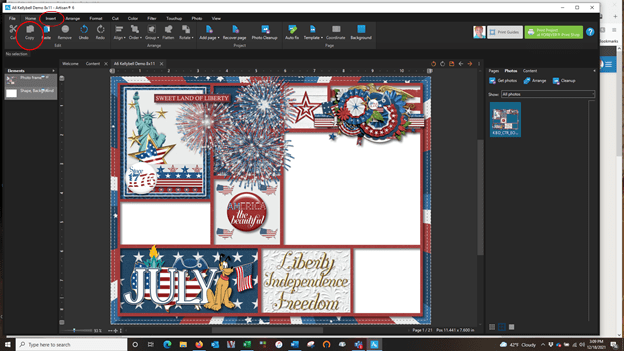
4. 12 x 12” Quick Pages will cover the entire layout of a 12 x 12 project. The background of the layout will be visible through the Quick Page where the photos will be inserted.
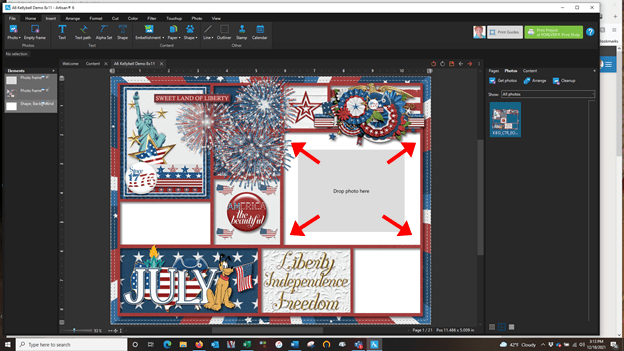
5. Add a photo frame to your page by selecting the Insert ribbon and the clicking on Empty Frame.
6. Move the grey photo rectangle over the area of the Quick Page that you want to insert it and enlarge it to the size of the open photo space.
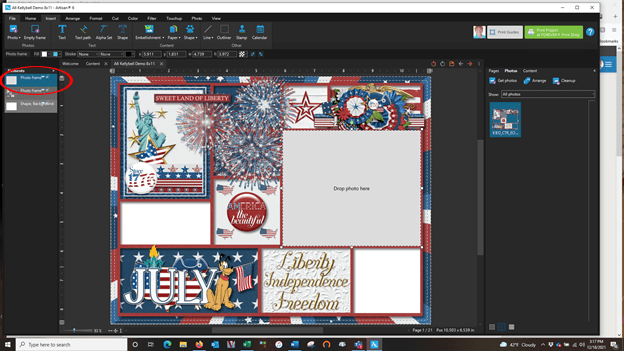
7. Select the empty photo frame in the Elements ribbon and slide the layer down to appear below the Quick Page.
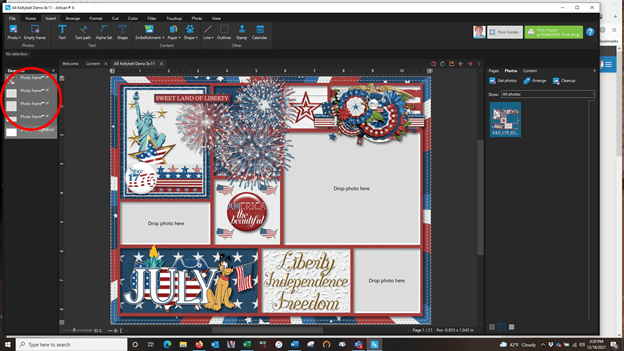
8. Repeat steps to fill remaining spaces in Quick Page.
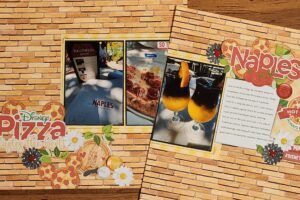
9. Add your favorite photos to the empty photo frames and you are finished.






Leave a Reply
Your email is safe with us.
You must be logged in to post a comment.