There are so many types of Disney scrappers, but they all have one thing in common. Sure they LOVE Disney and take TONS of photos at the parks, but they are always seeking new scrapbooking inspiration and ways to create layouts. Kellybell Designs offers digital scrapbooking files that can be used by traditional paper scrappers, digital scrappers, and mobile app scrappers. Whether you use a computer or MAC to create digital layouts, or you use a Cricut, Silhouette, or scissors to print and cut elements and papers, or you use a phone and tablet to import cards, papers and pockets, you’ll find so much flexibility in using Disney digital files to make your layouts.
This year we added two new Paper Layout Artists to our Creative Team: Vicki and Theresa. They join Dawn, Elena, and Wendy who are our paper scrapping veteran CT members. These 5 gals will be bringing you amazing paper layouts each month and sharing their processes with you – hoping to inspire others to get started or to try new techniques.
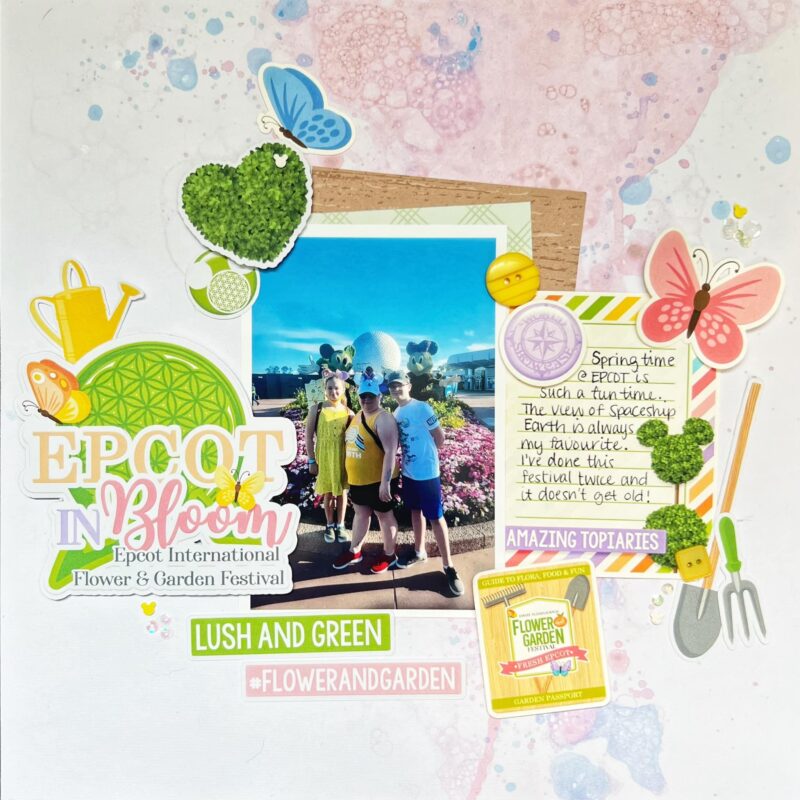
Here’s a beautiful paper layout from CT Member Vicki scrapping her Epcot Flower and Garden Festival page using the Fun Flower Festival collection. Check out her process photos showing the printed page ready for cutting with her Cricut Explore, and the cut elements, titles and journal cards prior to final assembly.

So how do you turn a digital file into a paper embellishment? All Kellybell Designs products are digital, so there is no physical products sent to you. Then how does something digital on a computer get transformed into a paper embellishment or sticker like I could buy at a craft store?
The answer is printing and cutting! It sounds simple, but there are some steps involved. Making digital files into paper elements requires 4 items: design software, white cardstock paper, a printer, and a cutting tool. Let’s dive into the details of how to do this.
Why Do I Need a Software Program?
A software program is needed to import the PNG embellishment files, resize them for using on your layout, and organize several of them on a page for printing. You can use digital software programs like Adobe Photoshop Elements or FOREVER Artisan. You can also use Canva, as well as other programs like Microsoft Powerpoint. Both the Cricut Design Space and Silhouette Studio programs are free to use, even if you don’t have the cutting machine. All software programs have a learning curve to them to get acquainted with how to use all the features. Thankfully there are numerous web tutorials and YouTube videos to provide instructions.
Do I Need a Cutting Machine Or Can I Cut By Hand?
Popular cutting machines include Cricut, Silhouette and Brother. These machines make it easy to precisely cut around the embellishments. However, a cutting machine is not necessary – you can also use scissors and “fussy cut” them by hand. CT Members Dawn and Elena use a Cricut Maker, while Vicki has a Cricut Explore. Theresa uses a Silhouette and Wendy cuts everything by hand.
What Printers Are Best and What Type of Paper Should I Use?
Most printers today provide sharp and clean color prints. Here’s the printers that our CT gals use: Dawn – HP Envy 4520, Elena – HP Officejet Pro 6978, Vicki – HP Envy 6055, and Wendy – Brother HL-L32290CDW color laser printer. A few of the CT gals have a wide format printer that can print at the 12×12 sizing: Dawn – Epson XP-15000, Elena – Epson Workforce Pro WF-7310, and Theresa – Canon iX6820.
For paper, it’s recommended to use white cardstock paper, but you can also use a heavier standard printer paper. Dawn likes Hammermill Premium Color Copy Cover Paper 100lb. Elena uses Springhill Digital Paper from Amazon. Wendy like Quill printer paper. Vicki uses Michaels brand 65lb smooth cardstock. Theresa prefers semi gloss photo paper. You can experiment with different paper types and weights to find what works best for you. You can even try white or clear sticker paper, or printable canvas.
How Do I Organize The Elements on a Page For Printing?
It’s important not to waste any paper or printer ink, so you want to arrange your elements on the page to fill the entire sheet before printing. You’ll start by imported the PNG elements and JPG papers. Then resize them and arrange them across separate 8.5×11 pages. You’ll need to follow the cutting machine guidelines for where to place the elements on the page. Cricut has some printing page limitations (6.75″ x 9.25″), so you may need to spread your elements across more pages. Cricut puts a black rectangle around the print area so it knows where to cut. Silhouette puts registration marks in the corners of the pages.
With the print and cut method in Cricut or Silhouette, you are setting up an “outline” around each element so the cutting machine knows where you want the element cut. You can cut exactly around the element with no white space around it. You can use the Offset feature to create a solid colored proportional outline behind your element (like a white background that a sticker has).
After printing your pages, you’ll then place your pages on the cutting mat and feed them into the cutting machine. The machine scans the printed cut sensor markings, then cuts your embellishments with precision. One big tip – make sure your cutting mat is sticky enough so that the cutting machine doesn’t snag on more intricate cuts.
How Do I Assemble All The Pieces?
This is typically the hardest part of the process – putting it all together! For securing the elements to your paper, you can use a tape runner, glue dots, foam dots, foam tape, liquid glue, or redline tape. To add additional sparkle and dimension, you can add enamel dots, brads, acrylic pieces, sequins, nuvo dots, and stamps. The CT gals said it takes about 2-3 hours to create a paper layout. That includes all the software resizing, printing, cutting, and final assembly. One tip, place all your photos and elements on the page, moving them around until you feel it looks best. Then take a photo of the page before gluing to have as a reference.

Let’s take a look at more examples of paper layouts from the Creative Team. Here’s a bunch of elements and papers from the Pool Day collection that CT Member Dawn printed and cut with her Cricut Maker.
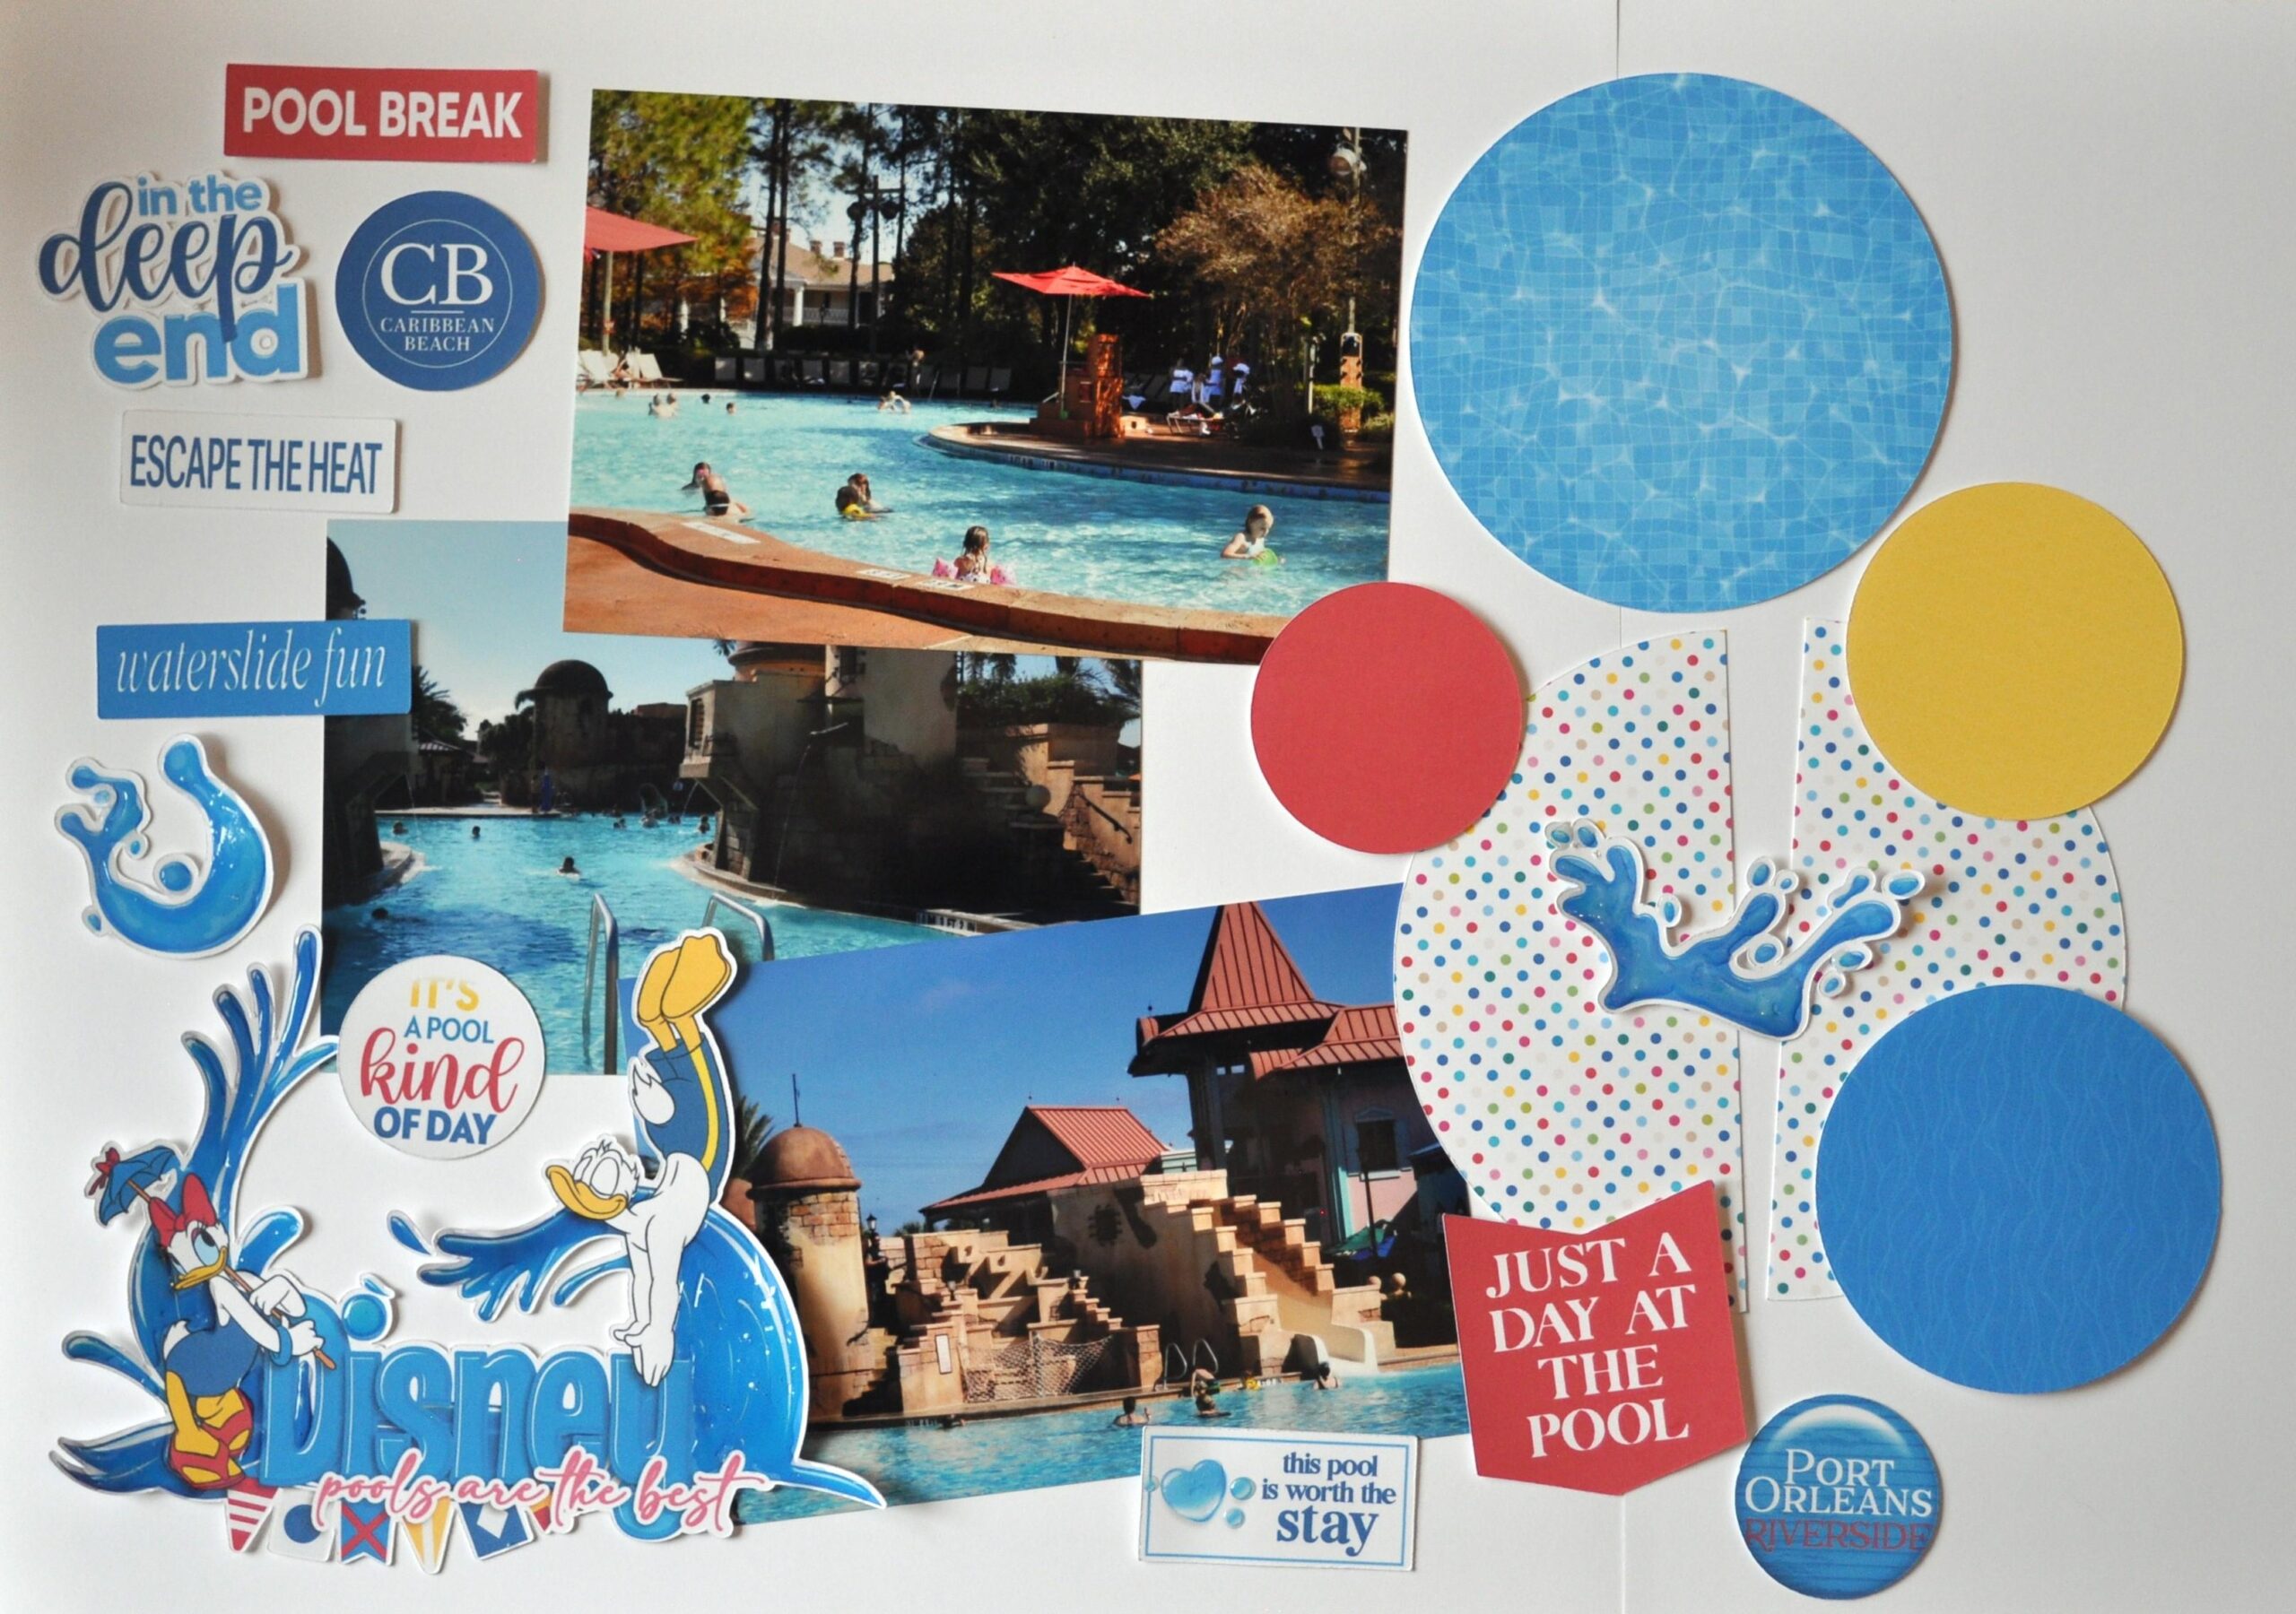
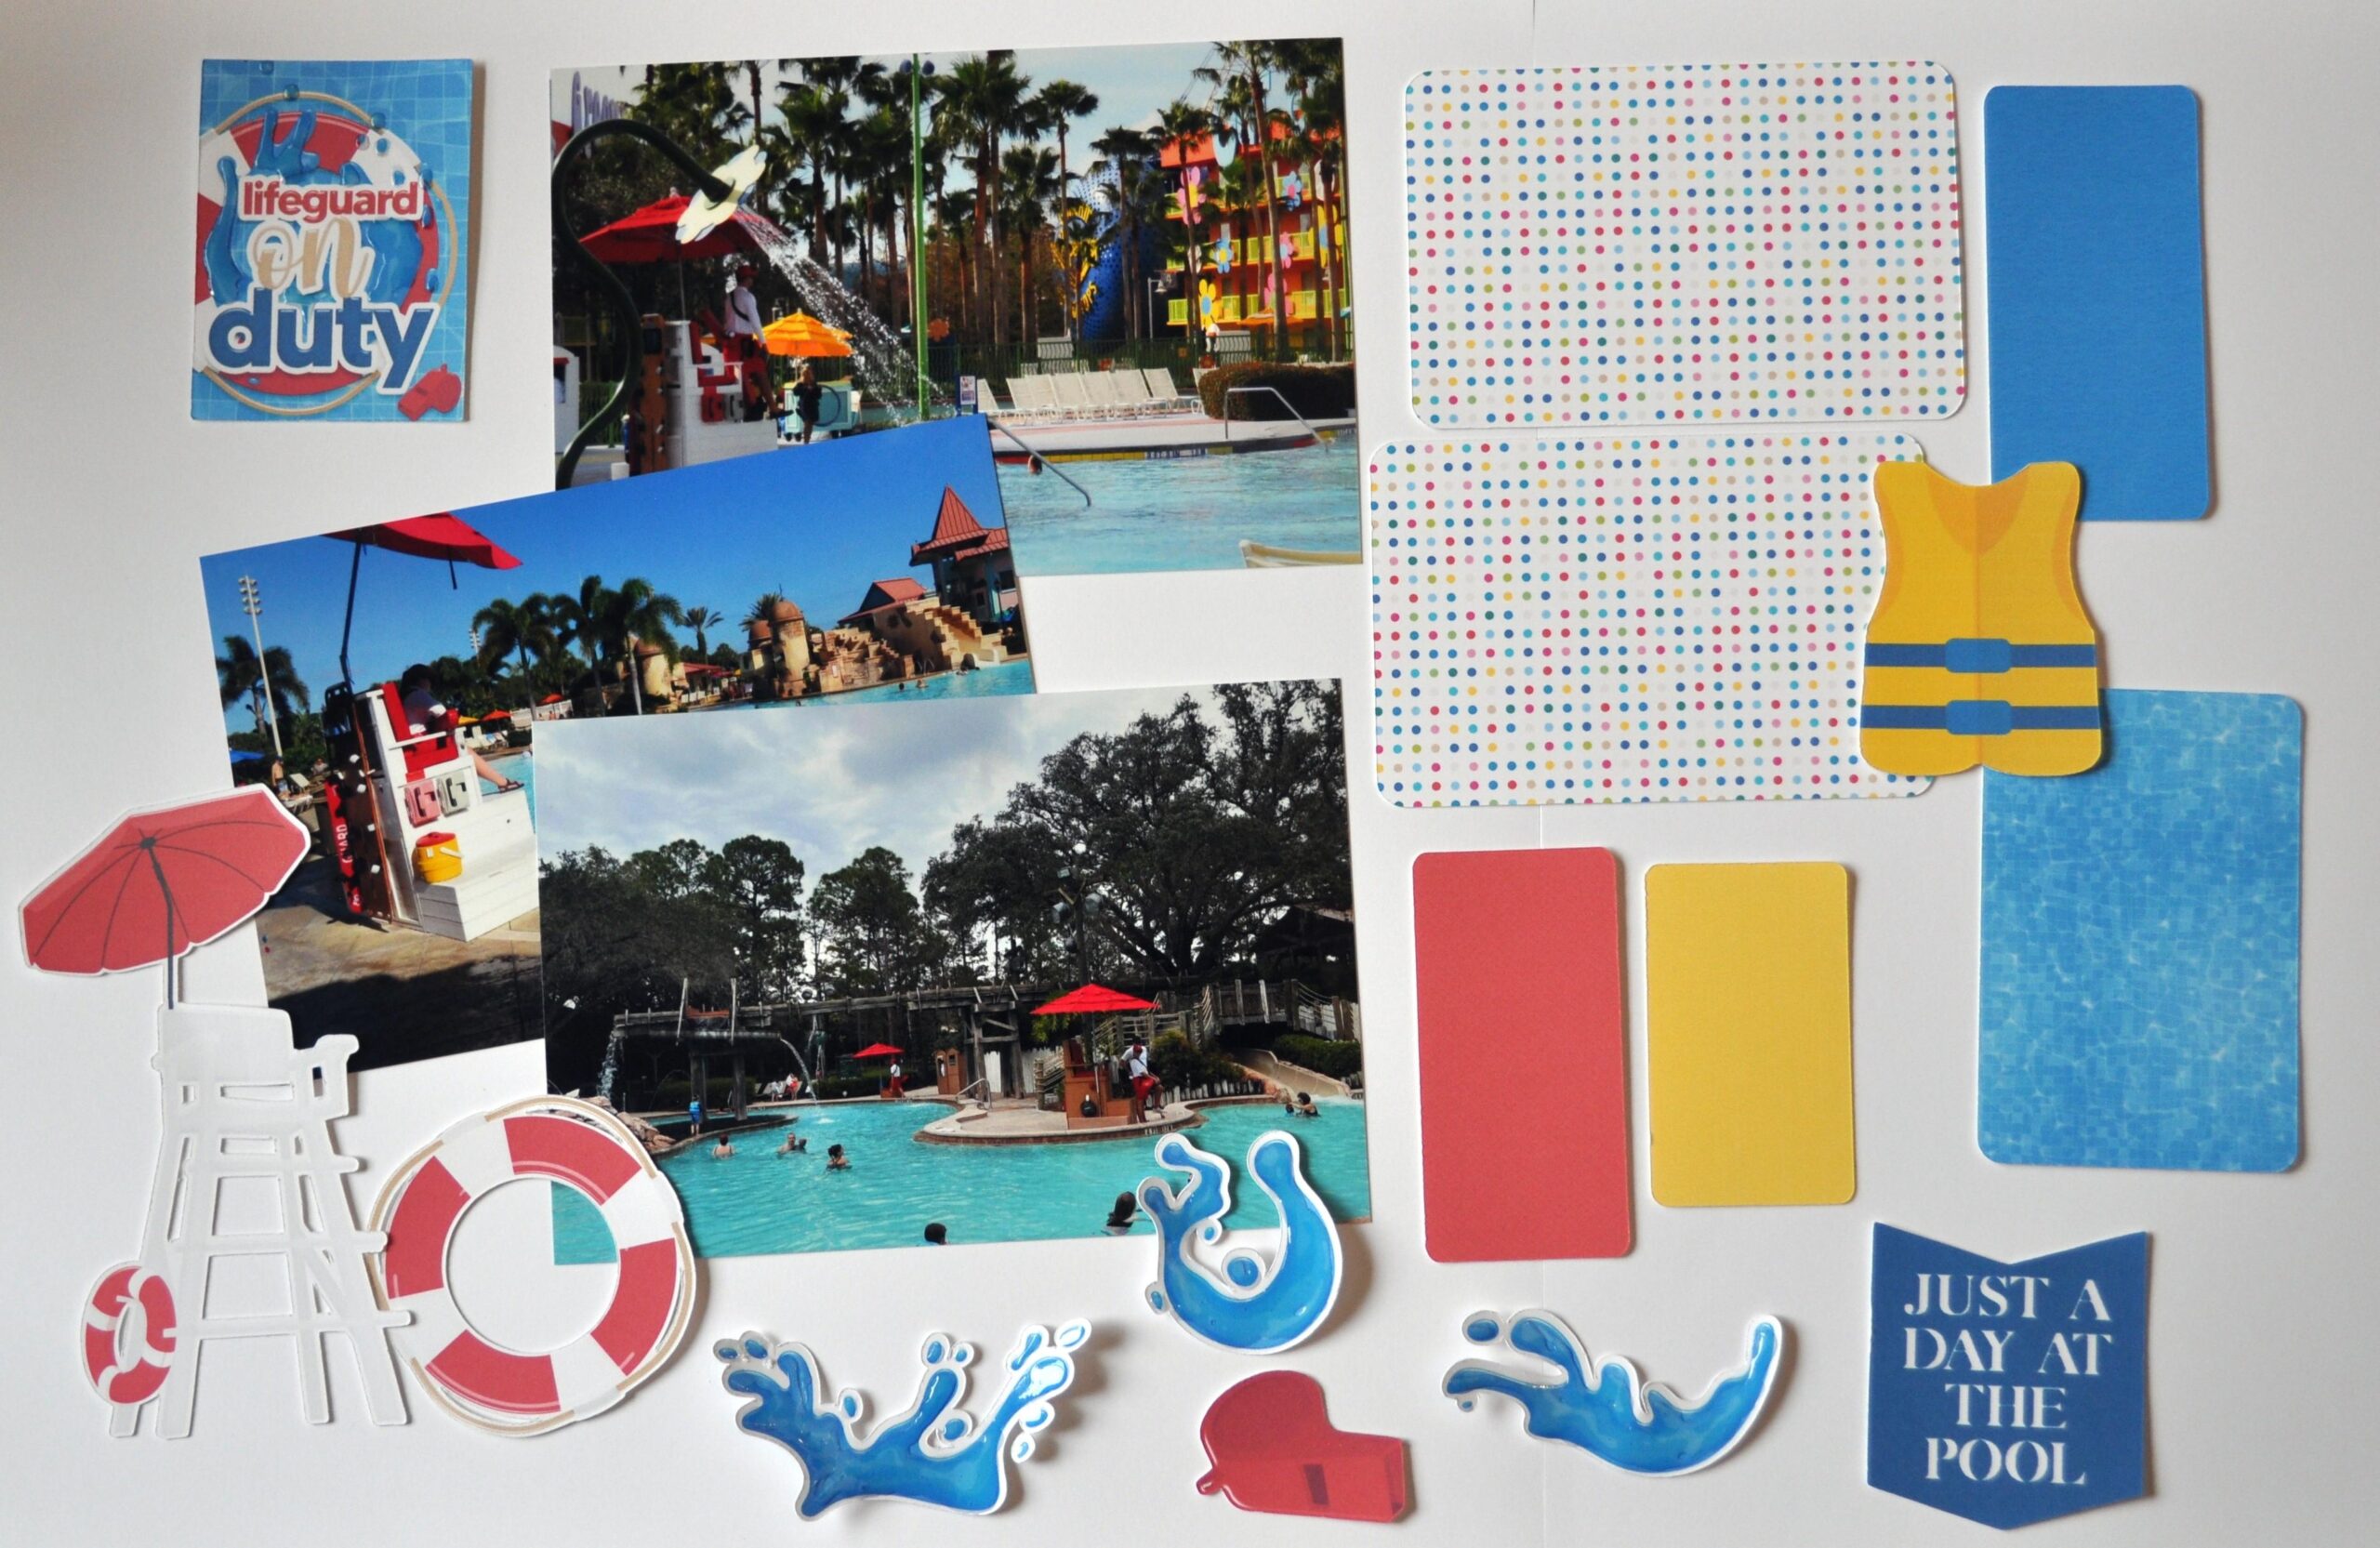
Now check out the finished projects. She made 4 paper layout of her pool fun at the resort.

Here’s CT Member Elena’s layouts using the Quote It Tiana Word Flair pack and the Light Cycle Run collection. You can see her papers and cut elements. Notice the oversized page starter she used for TRON page – the preclustered frame with lots of elements around it made for a quick assembly.

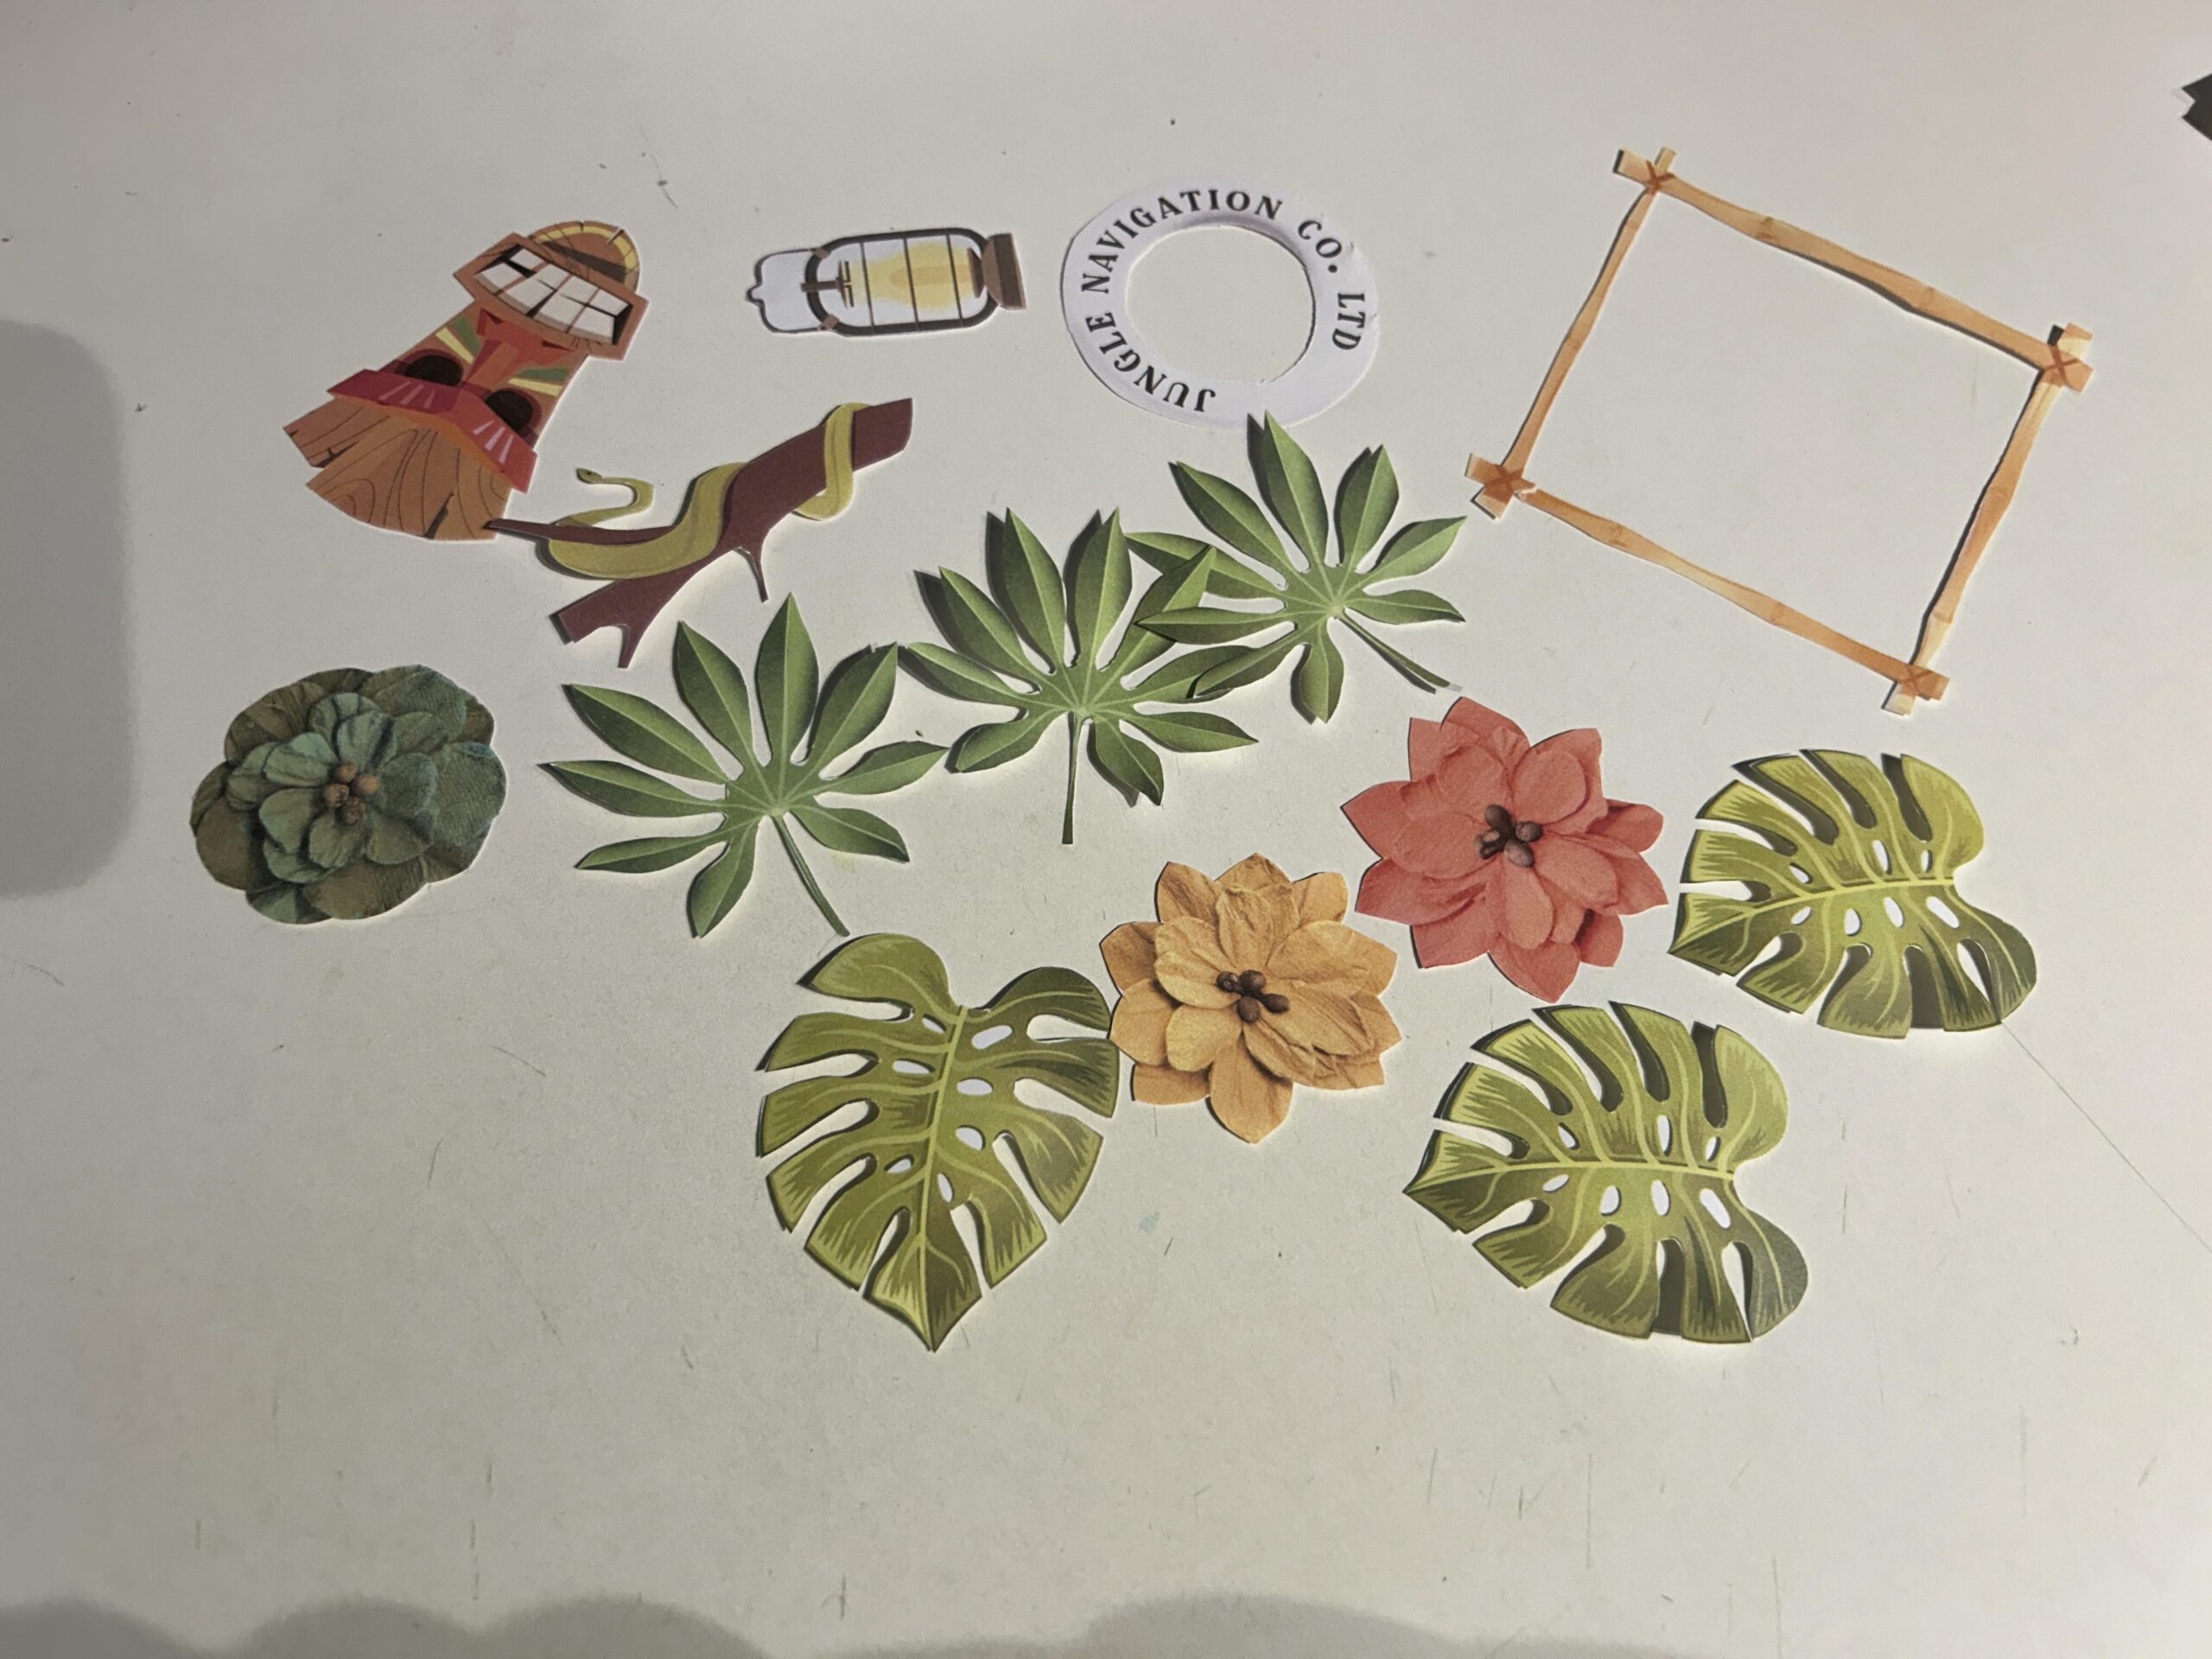
Here’s a 2 page layout for Jungle Cruise by CT Member Wendy using the Jungle Cruise Tour collection. She cuts out all her elements by hand. Look at how amazingly detailed and precise she can be cutting out these ferns and leaves. Wendy is proof that you don’t need an expensive cutting machine – however you do need patience and time.
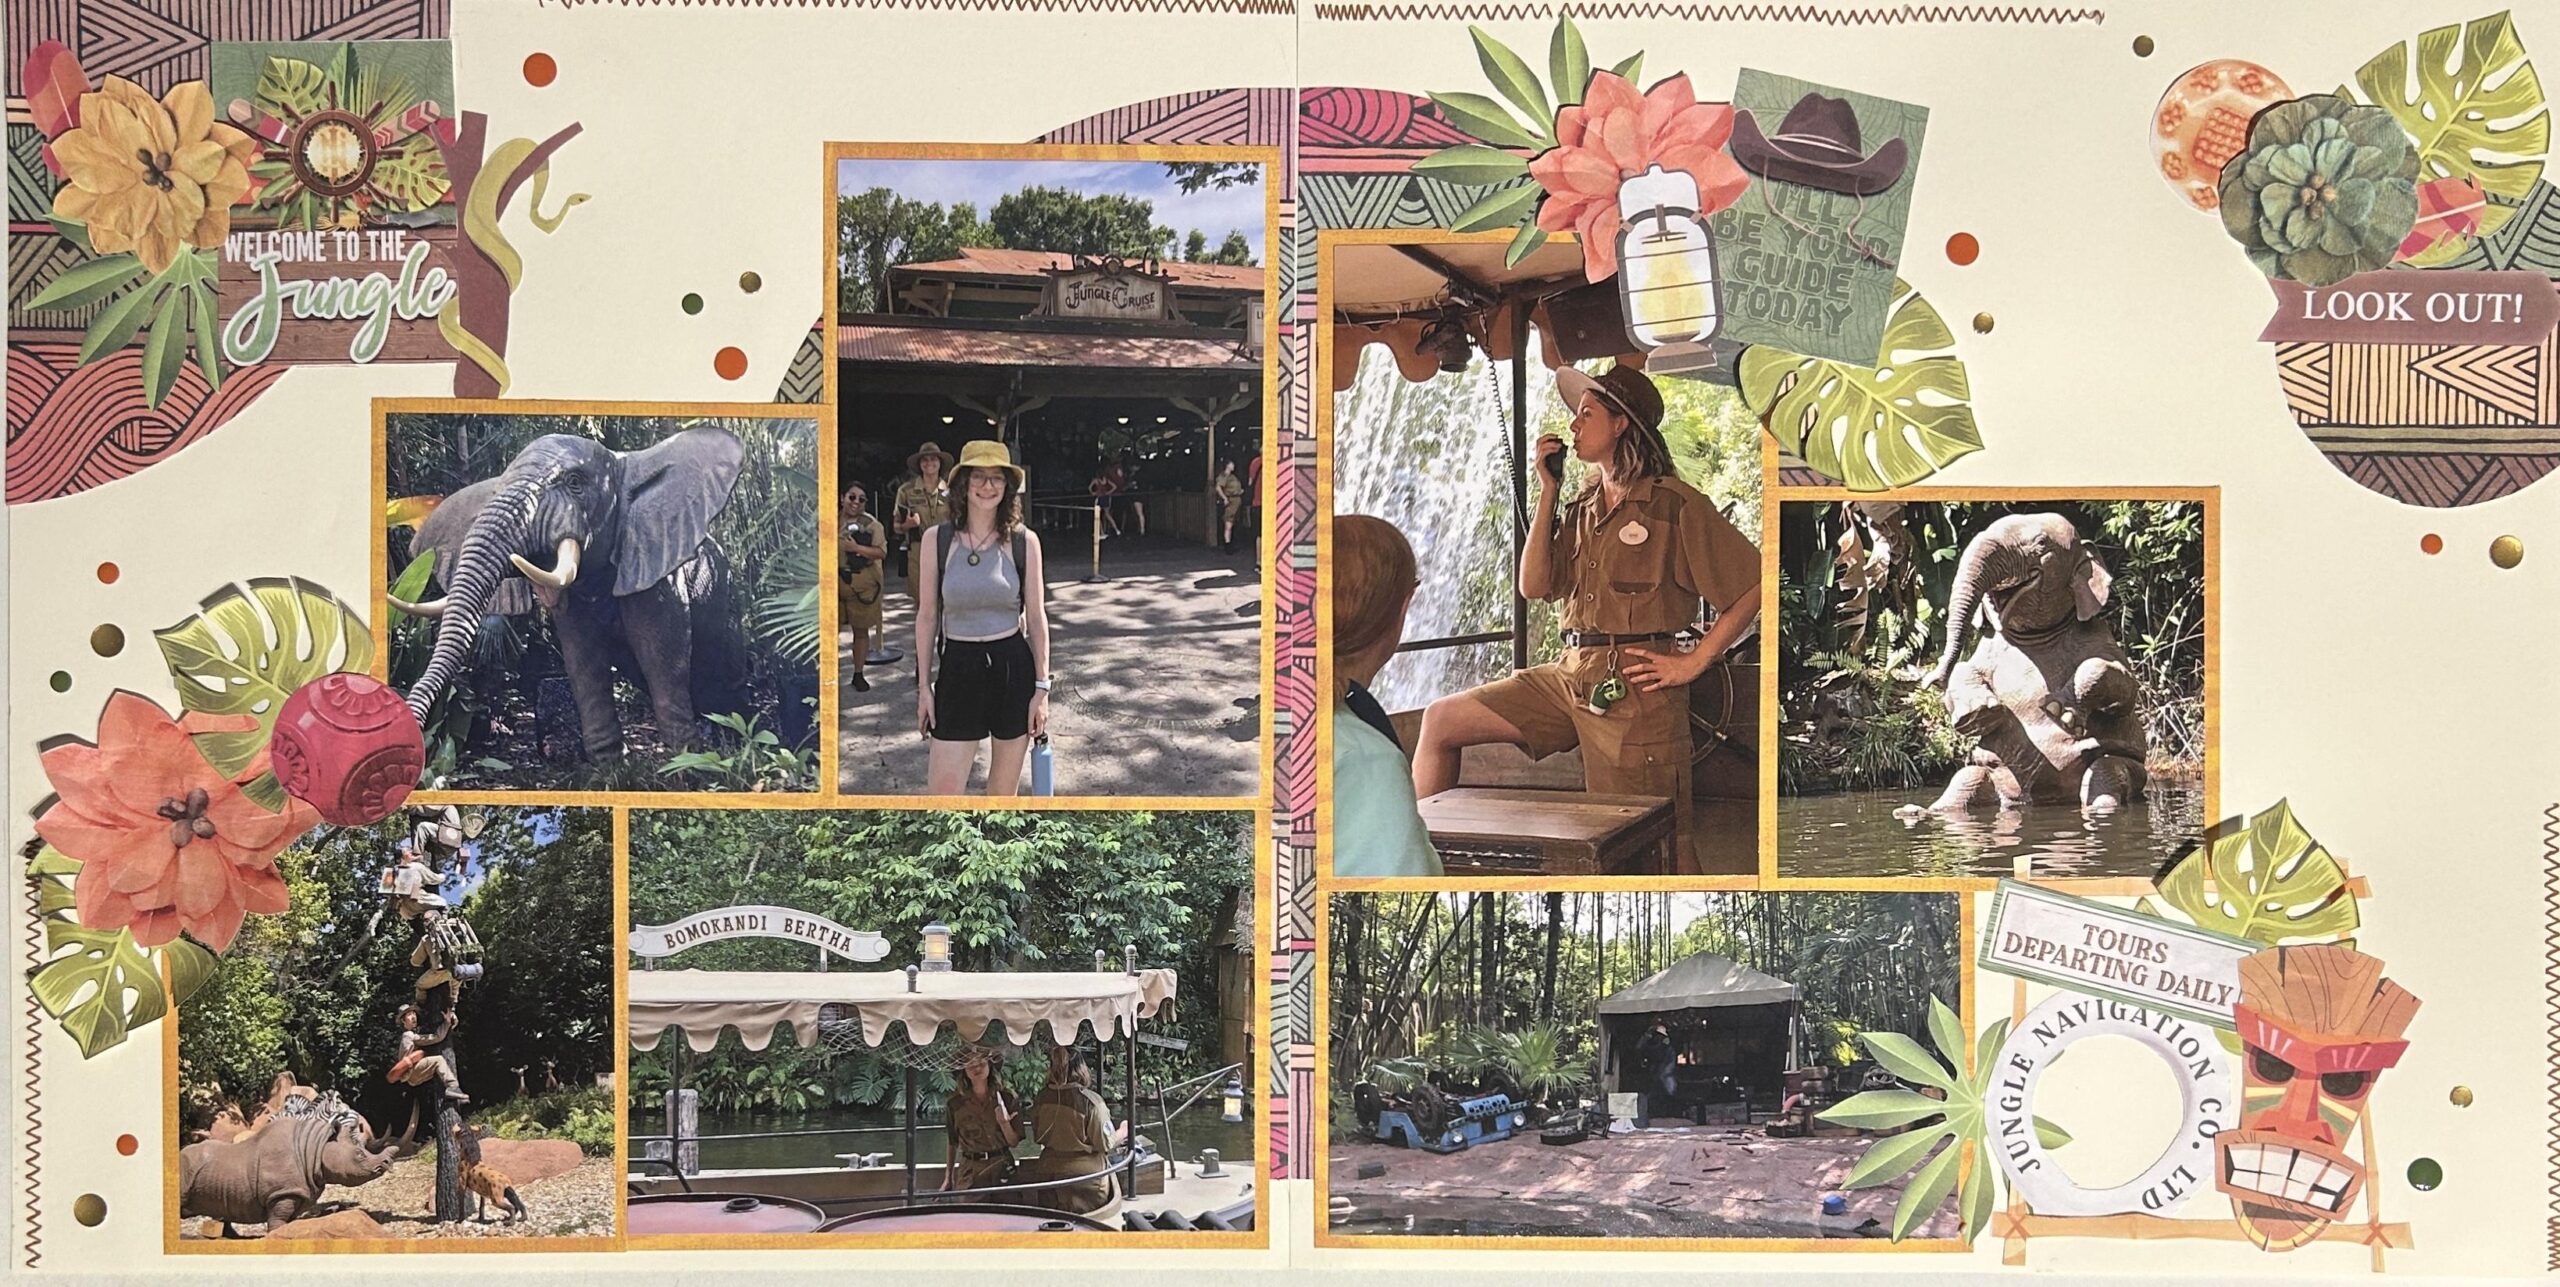
One more layout from Wendy using the Kingdom of Animals collection. Check out all those gorgeous patterned papers and pretty flowers.


Leave a Reply
Your email is safe with us.
You must be logged in to post a comment.